Follow
 Every investigation starts the same way — re-explaining your environment, your log sources, your detection standards, before you can even get to the actual analysis. Multiply that setup tax across every new chat you open for the same investigation, and you’re spending more time re-briefing the AI than hunting threats.
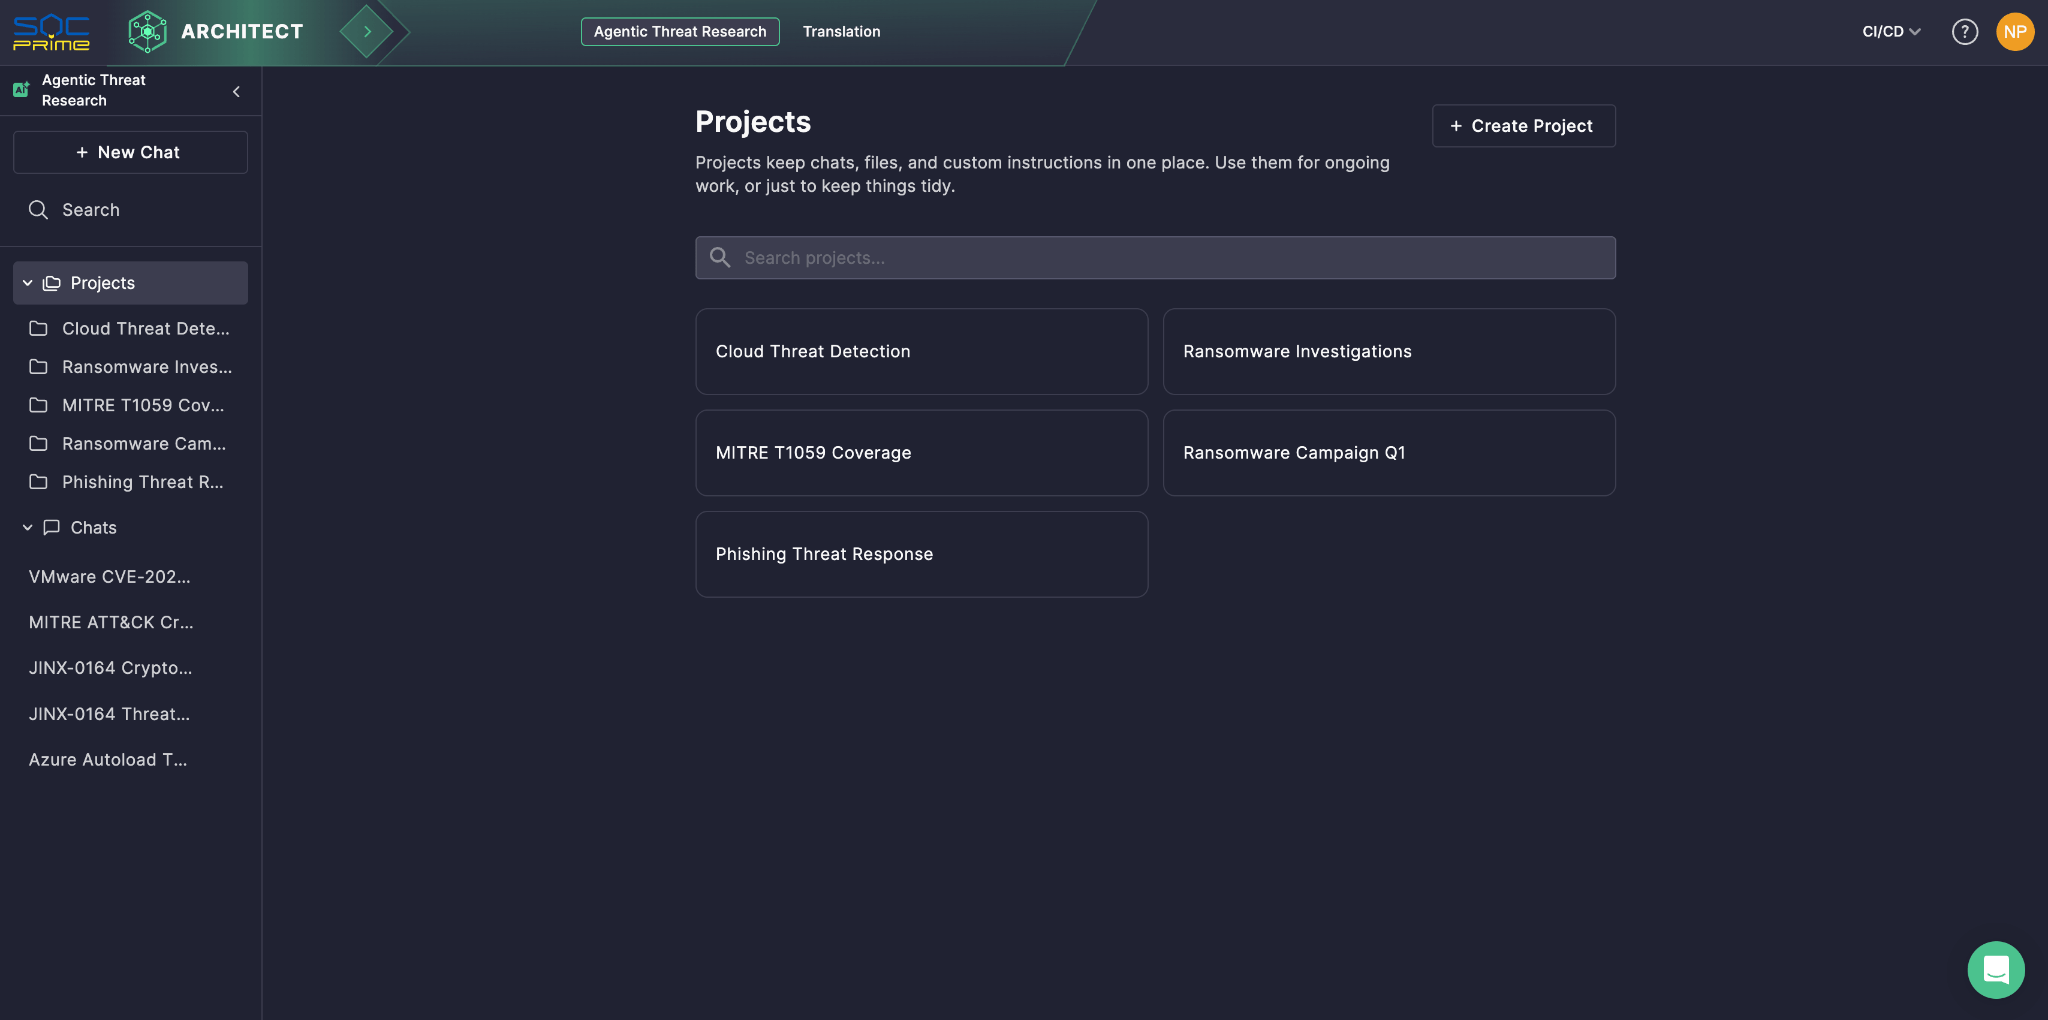
Projects solves this. Available within Agentic Threat Research — the AI-assisted workspace in Prime Architect for detection engineering and threat research — Projects let you group multiple chats under a single shared context, so you only have to set the stage once. Define your data schema, log sources, detection structure, and expected output up front, and every chat in that project automatically inherits it. No more re-pasting the same background into every new session — the AI already knows how your environment works before you type your first question.
Think of a project as a workspace built around a specific investigation focus — a threat campaign, your or a customer environment, a detection engineering initiative, an ongoing incident. Everything the AI needs to reason correctly about that focus lives in one place, and every chat inside it starts from that same, fully-briefed baseline. Projects sit right in the left panel of Agentic Threat Research alongside your regular chats, and everything you already rely on there — custom prompts as well as the built-in Agentic AI tools — works the same way inside a project, just with your context already applied.
Why It Matters
- Consistency across your own investigations. Every chat you open inside a project starts from the same baseline context, so your results stay comparable and repeatable across sessions, instead of depending on what you happened to type into the prompt that day.
- Faster investigations. Skip the setup tax entirely. Open a new chat and get straight to the analysis — the context is already loaded, so the AI can go from question to answer instead of question to clarifying-question.
- Institutional knowledge, built in. Upload your internal playbooks, incident reports, environment documentation, and other security-related reference materials so the AI reasons with your organization’s actual standards and history, not generic assumptions about how a SOC should work.
- Precision by design. Set rules once — clarify assumptions before acting, require precise technical language, suggest tuning ideas for noisy detections — and every chat in the project follows them automatically, without you having to repeat yourself.
- A dedicated workspace per investigation. Keep separate projects for separate focuses — a threat campaign, your or a customer environment, a detection engineering initiative — so the context loaded into each one is always exactly what that investigation needs, without unrelated work affecting it.
A Quick Example
Say you’re running a project focused on lateral movement detection. You attach your data schema so the AI understands your field naming conventions, list out your log sources (EDR, VPN, identity provider, and firewall logs) so it knows what evidence is actually available, and upload your detection structure and expected output template so every finding comes back in the same format you use for triage. You also drop in a couple of relevant internal playbooks and prior incident reports covering similar activity. From that point forward, every new chat you open in that project can answer questions like “does this authentication pattern match known lateral movement TTPs in our environment?” grounded in your actual data model and your own case history — not a generic response — without you having to re-explain any of it.
Getting Started
- Create a project. In Prime Architect, go to the Agentic Threat Research mode, select Projects in the left panel, and then select Create Project. Give it a name.

- Define the shared context. Pick either or both:
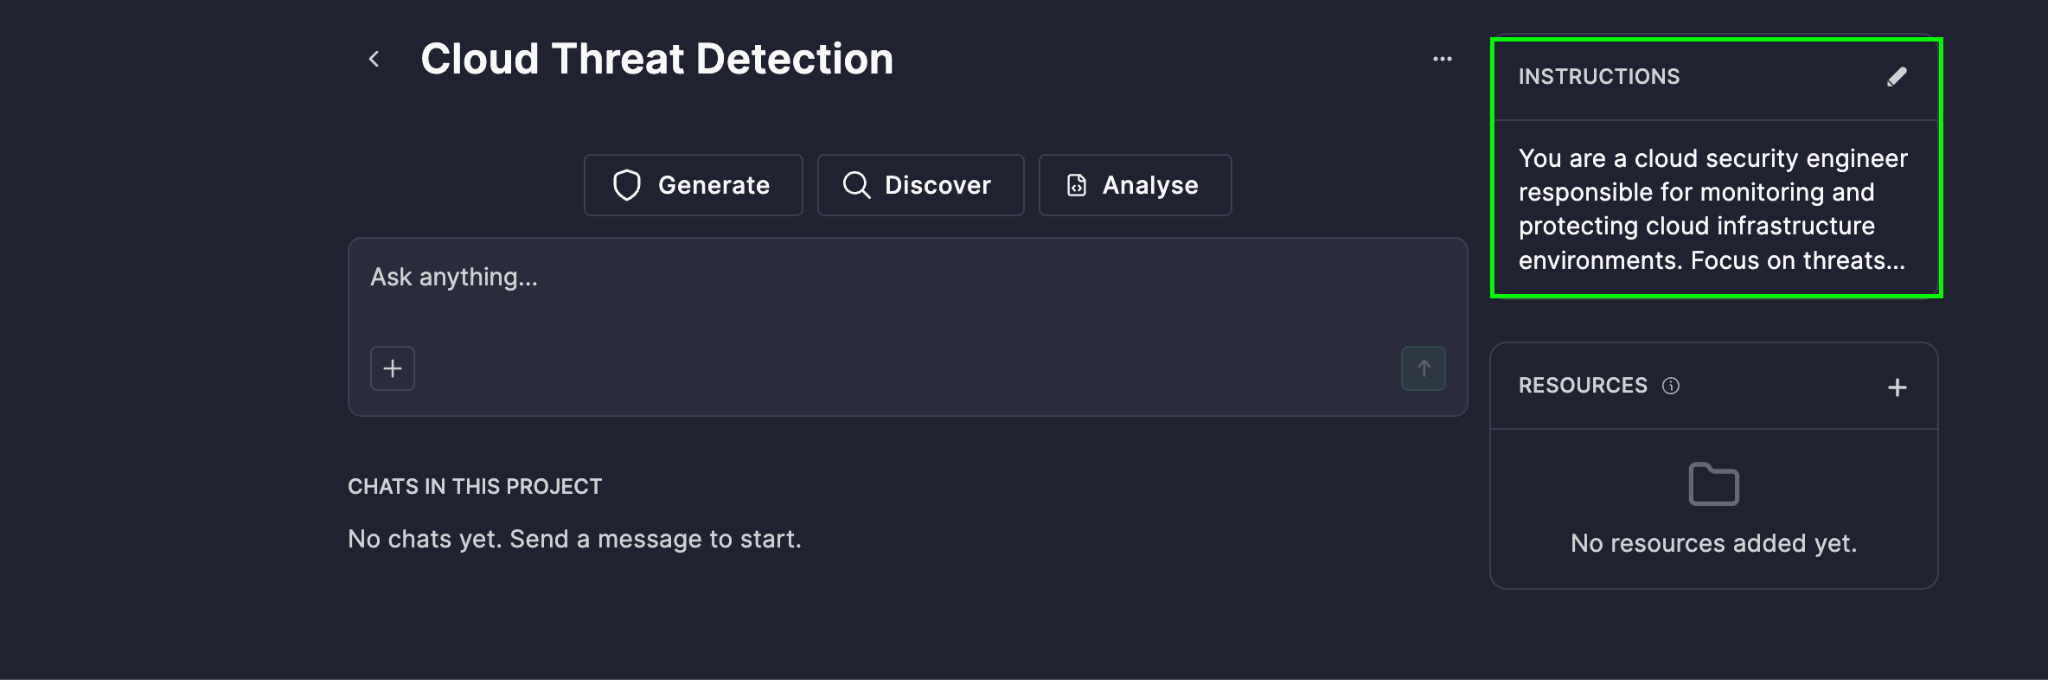
- Instructions: Click the pencil icon in the Instructions section and write a prompt describing how the AI should behave in this project — for example, your data schema, log source details, detection structure and expected output format, or key rules like clarifying assumptions and using precise technical language. Select Save. You can revisit and edit this anytime via the same pencil icon.
- Resources: Click the plus (+) icon in the Resources section, select Upload Files, and attach your reference material — playbooks, incident reports, environment docs, or other security references. You can upload up to 5 files, each up to 15 MB and 500k tokens. Supported formats: PDF, TXT, CSV, JSON, PNG, JPG/JPEG (PDFs up to 1,000 pages).
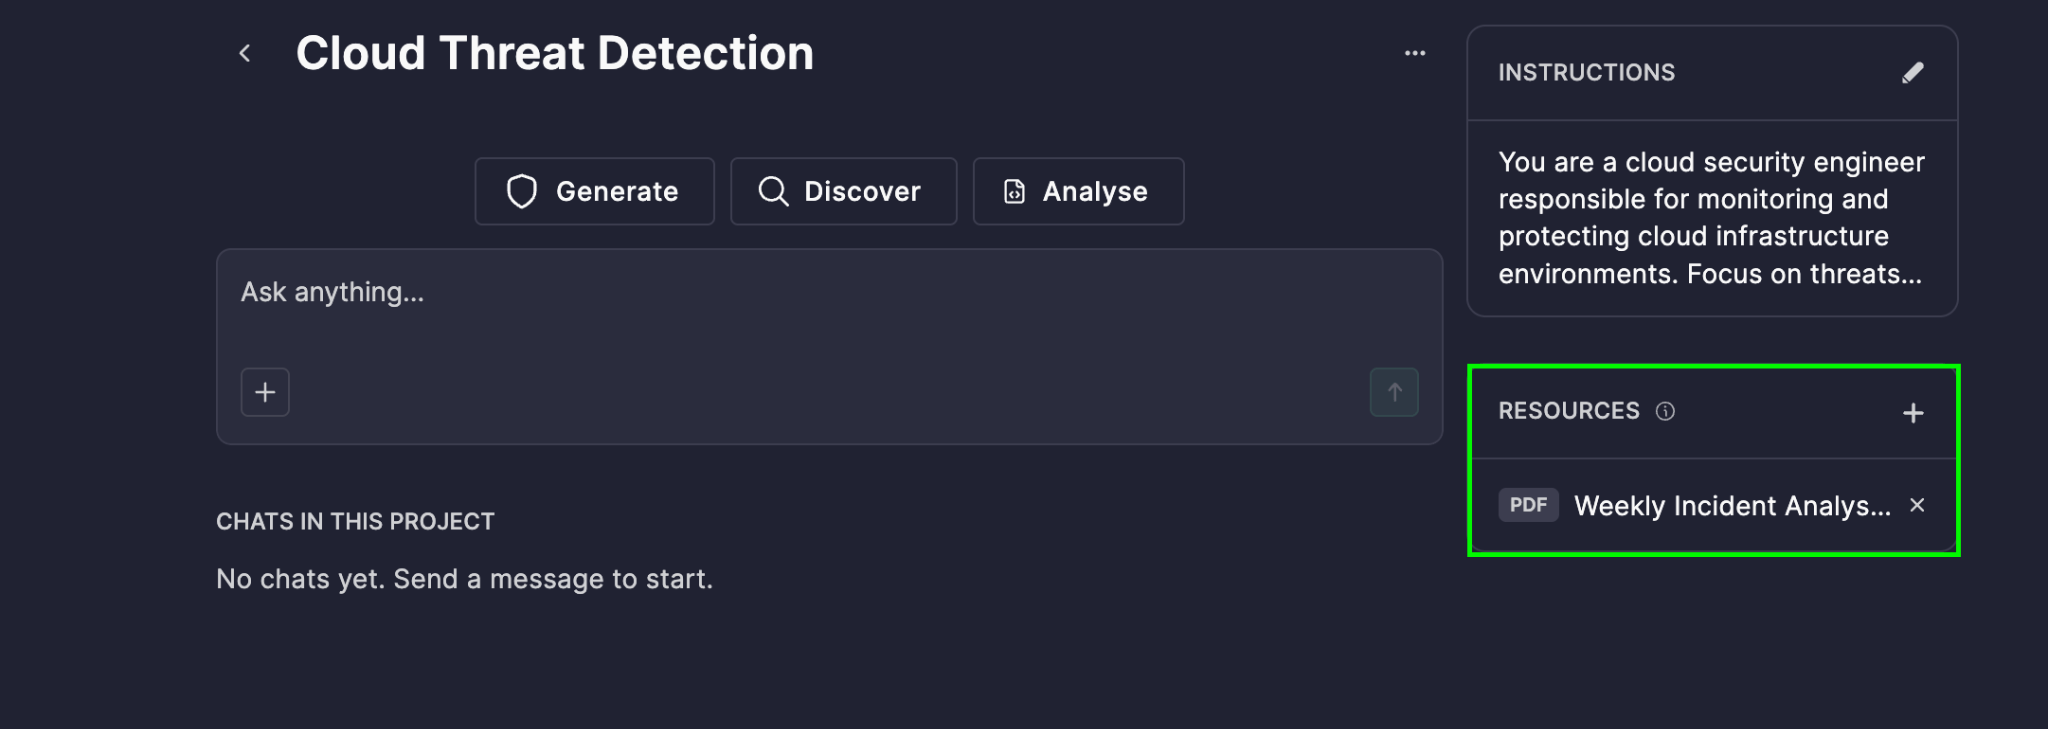
Everything you add here applies automatically to every chat in the project.
- Start working. Open the project and start a new chat — it inherits the context immediately, no extra steps required. All chats you create within the project are grouped together and available under the chat panel, so your investigation history stays organized in one view instead of scattered across a general chat list.
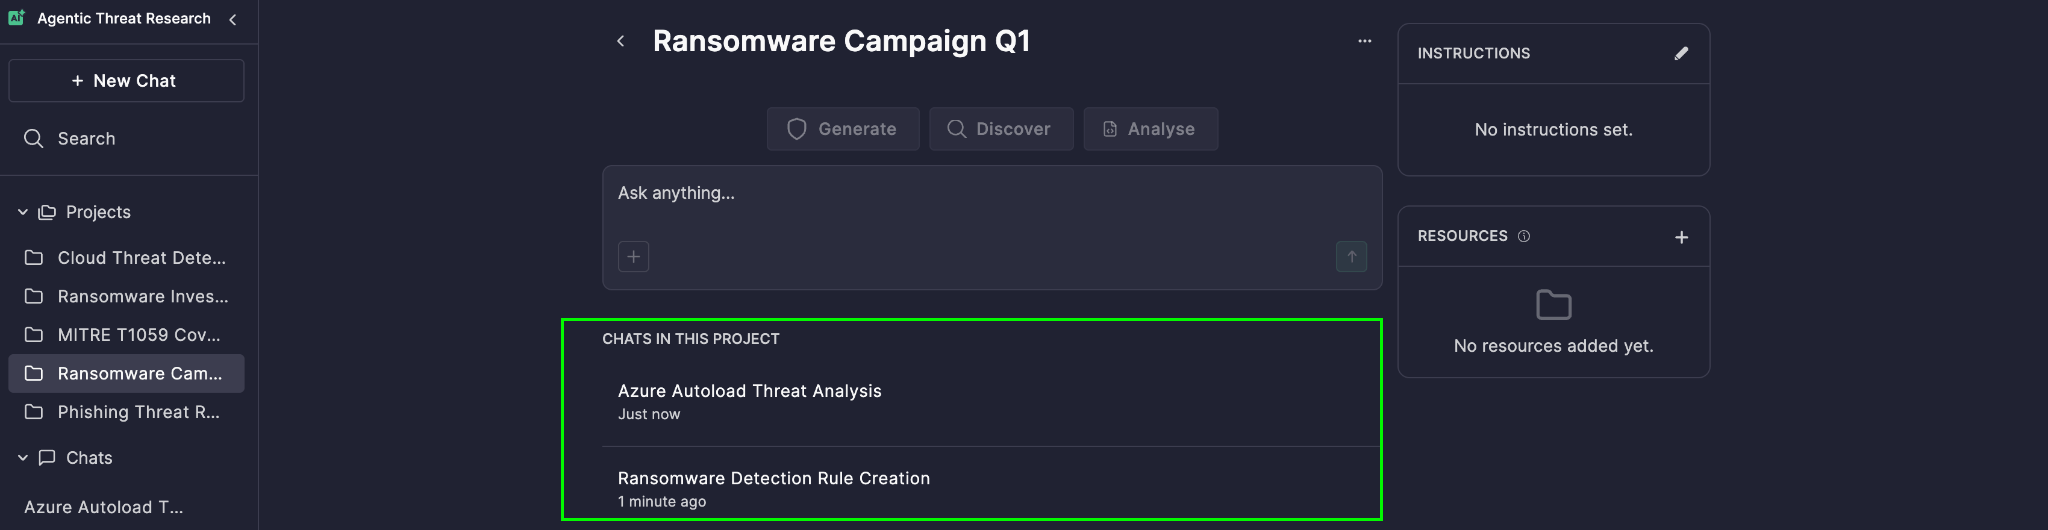
- Keep it organized. As a project grows, you can rename or delete individual chats at any time — just click the three-dot menu next to a chat and select the option you need. This makes it easy to keep active investigations clearly labeled and archive ones that are closed out, without losing the shared context that the rest of the project still relies on.
Set the context once. Investigate faster, every time after.